

Welcome to the Daikin Installation Manual, your comprehensive guide for installing Daikin air conditioning systems. This manual covers split series models, including R32 and R410A systems, ensuring safe and efficient installation. Proper installation is crucial to avoid potential issues like water leakage or electric shock. Follow the instructions carefully to ensure optimal performance and reliability. This manual is designed for licensed installers and provides detailed steps for a successful setup. Refer to the safety precautions and compatibility checks before starting.
1.1 Overview of the Daikin Installation Manual
The Daikin Installation Manual provides a comprehensive guide for installing Daikin air conditioning systems, including split series models like R32 and R410A. It covers essential steps, safety precautions, and compatibility checks to ensure proper setup. The manual includes detailed instructions for mounting indoor and outdoor units, connecting components, and performing initial start-up procedures. Accessories like mounting plates, remote controllers, and humidifying hoses are also listed. This document is designed for licensed installers, offering a clear roadmap to achieve efficient and safe installation, avoiding potential risks such as water leakage or electric shock.
1.2 Importance of Proper Installation
Proper installation of Daikin systems is critical to ensure safety, efficiency, and reliability. Improper installation can lead to serious risks such as water leakage, electric shock, or fire. Adhering to the manual’s instructions guarantees compliance with safety standards and optimal performance. Correct installation also prevents refrigerant leakage, ensuring environmental protection. This manual emphasizes the need for licensed professionals to handle the setup, as improper techniques can void warranties or cause long-term operational issues. Proper installation is essential for maintaining the system’s efficiency and extending its lifespan.
Safety Precautions
Adhering to safety guidelines is essential during installation to prevent risks like electric shock, fire, or water leakage. Always follow the manual’s instructions to ensure a safe process.
2.1 General Safety Instructions
Adhering to safety guidelines is crucial to prevent hazards during installation. Always use a licensed installer to avoid risks like electric shock or fire. Read the manual thoroughly before starting and ensure all safety precautions are followed. Wear appropriate PPE, including gloves and safety glasses, when handling equipment. Ensure proper grounding of electrical components and avoid overloading circuits. Never tamper with safety devices or bypass protective mechanisms. Handle refrigerants and electrical components with care to prevent leaks or damage. Follow all local and national safety regulations strictly. Conduct a trial operation after installation to verify system safety and functionality; Always explain safety precautions and maintenance tips to the user to ensure long-term safety and efficiency.
2.2 Potential Risks of Improper Installation
Improper installation poses significant risks, including water leakage, electric shock, or fire. Refrigerant leakage can also occur, leading to environmental hazards and system damage. Such issues may result in costly repairs, system malfunction, or even voiding the warranty. Additionally, improper installation can cause health risks to occupants due to inadequate cooling or heating. Always ensure the installation is performed by a licensed professional to mitigate these risks and guarantee compliance with safety standards and regulations. Proper installation is essential for system efficiency, safety, and longevity. Follow the manual strictly to avoid these potential hazards.
System Components
The Daikin system includes essential components like the indoor unit with mounting plate, air-purifying filter, and remote controller. The outdoor unit features a humidifying hose, drain socket, and binding bands. Accessories such as dry batteries and operation manuals are also provided. These components ensure efficient operation and proper installation, as outlined in the manual.
3.1 Indoor Unit Components
The indoor unit of the Daikin system includes essential components for efficient operation. Key parts include the mounting plate for secure installation, the air-purifying and deodorizing filter (NVGT), and the wireless remote controller with its holder. The remote controller requires dry alkaline batteries (AA/LR6) for operation. These components are designed to ensure optimal performance and comfort. Proper installation and maintenance of these parts are crucial for the system’s efficiency and longevity. Always refer to the installation manual for specific guidelines and compatibility checks.
- Mounting plate
- Air-purifying and deodorizing filter (NVGT)
- Wireless remote controller
- Remote controller holder
- Dry batteries (AA/LR6)
3.2 Outdoor Unit Components
The outdoor unit of the Daikin system consists of several key components designed for efficient operation. These include the humidifying hose (8m in length), drain socket, and joint for proper connections. Binding bands are provided for securing the refrigerant and drain lines. Additionally, the outdoor unit comes with an operation manual and installation manual for reference. These components ensure reliable performance and proper functionality of the system. Always verify the compatibility and condition of these parts before proceeding with installation to guarantee optimal results and system longevity.
- Humidifying hose (8m)
- Drain socket
- Joint
- Binding bands
- Operation manual
- Installation manual
3.3 Accessories and Tools Required
For a successful installation, ensure you have all necessary accessories and tools. These include a mounting plate, air-purifying and deodorising filters, a wireless remote controller, and dry batteries. Additionally, tools like screwdrivers, wrenches, and a leak detector are essential. Accessories such as binding bands, drain hoses, and joints are also required. Proper tools ensure accurate connections and prevent potential leaks or damage. Always verify the condition and compatibility of these items before starting the installation process to guarantee a smooth and efficient setup.
- Mounting plate
- Air-purifying and deodorising filters
- Wireless remote controller
- Dry batteries (AA.LR6)
- Screwdrivers and wrenches
- Leak detector
- Binding bands
- Drain hoses
- Joints
Pre-Installation Checks
Ensure proper site preparation, compatibility of components, and compliance with local regulations before starting; Verify all accessories and tools are available and undamaged for a smooth installation process.
4.1 Site Preparation
Ensure the installation site is prepared correctly. The area must be flat, stable, and free from obstructions for both indoor and outdoor units. Check for proper drainage to prevent water accumulation near the outdoor unit. Verify that all electrical connections and grounding are secure and meet local regulations. Ensure the installation area is clean and dry to prevent damage to components. Secure the mounting plate for the indoor unit firmly to avoid vibration. Proper site preparation ensures a safe and efficient installation process, adhering to Daikin’s safety and performance standards.
4.2 Compatibility and Regulations
Ensure all components are compatible with local electrical and environmental regulations. Verify that the system meets regional standards for refrigerants, such as R32 or R410A. Check compatibility with existing electrical infrastructure to avoid power issues. Adhere to safety guidelines outlined in the manual to prevent risks like electric shock or fire. Compliance with regulations ensures a safe and legally compliant installation, maintaining Daikin’s quality and performance standards while protecting the environment and user safety.
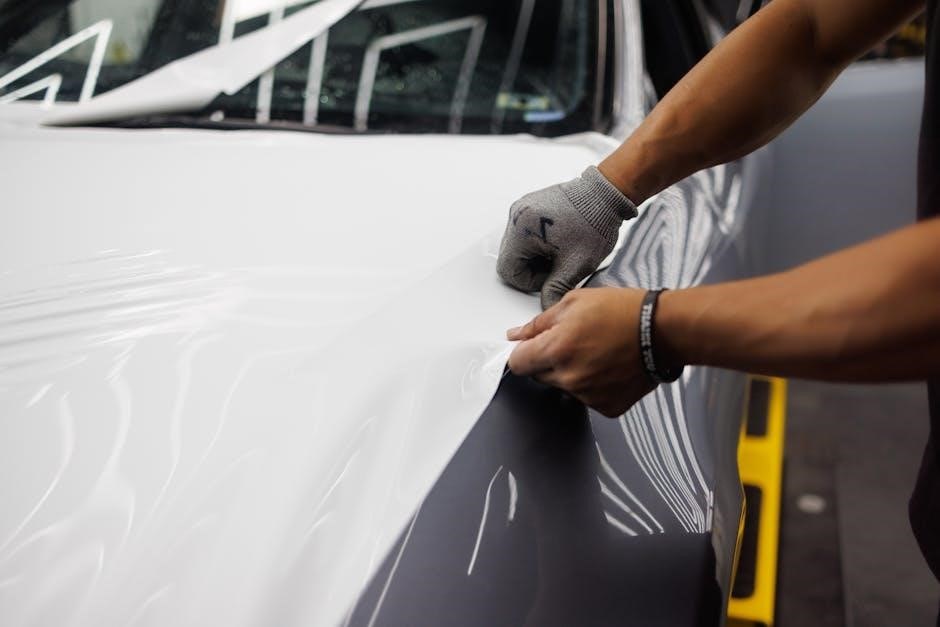
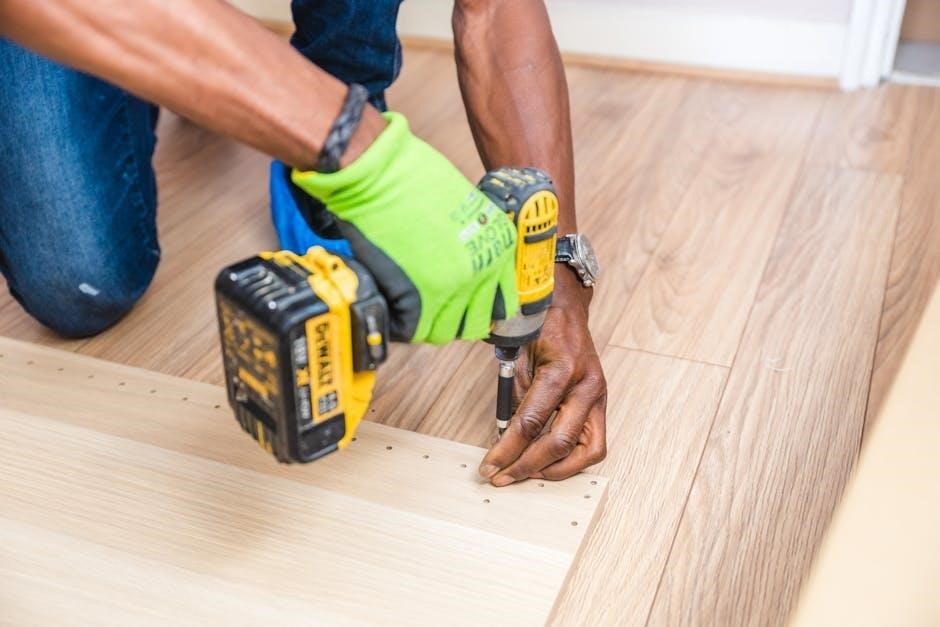
Installation Process
The installation process involves mounting the indoor unit, installing the outdoor unit, and connecting both with proper piping and wiring. Follow the manual’s step-by-step instructions for a secure setup. Ensure all connections are tight and electrical components are correctly linked. Proper alignment and leveling are crucial for optimal performance. After installation, conduct a trial run to verify functionality before finalizing the setup.
5.1 Mounting the Indoor Unit
Mounting the indoor unit securely is essential for proper operation. Use the provided mounting plate to fix the unit to the wall, ensuring it is level and firmly attached. Install the air-purifying and deodorising filter as specified. Connect the wireless remote controller and ensure it is properly paired with the unit. Insert the dry batteries into the remote controller and test its functionality. Ensure all electrical connections are secure and meet safety standards. Follow the manual’s instructions for precise mounting to avoid vibration and ensure efficient airflow. Proper installation guarantees optimal performance and longevity of the unit.
5.2 Installing the Outdoor Unit
Install the outdoor unit on a stable, level surface, ensuring proper drainage. Use the provided binding bands to secure the unit firmly. Connect the refrigerant pipes and electrical wires according to the manual’s instructions. Ensure the drain socket is correctly fitted to prevent water leakage. The unit should be positioned away from direct sunlight and heat sources to optimize performance. After installation, test the unit’s operation to ensure smooth functioning. Always follow the manufacturer’s guidelines to avoid potential issues like refrigerant leakage or electrical malfunctions. Proper installation ensures efficient system performance and longevity.
5;3 Connecting the Units
Connect the refrigerant pipes, electrical wires, and drain hoses between the indoor and outdoor units as per the manual. Ensure all connections are secure to prevent refrigerant leakage. Use the provided joints and binding bands for a tight seal. Properly insulate the refrigerant pipes to avoid damage. After connecting, perform a vacuum test to ensure there are no leaks. Finally, power on the system and test the operation of both units to ensure they function seamlessly together. Proper connection is vital for efficient performance and system longevity.
Commissioning and Testing
After installation, conduct a trial operation to check for faults and ensure proper function. Verify cooling, heating, and airflow performance. Explain operation and maintenance to the user.
6.1 Initial Start-Up Procedure
After completing the installation, power on the system and run a test operation. Ensure all functions, including cooling, heating, and airflow, operate smoothly. Check for any leaks or unusual noises. Verify that the remote controller is functioning correctly and all settings are responsive. Perform a series of test cycles to ensure proper operation. Address any issues immediately to prevent system malfunctions. Once verified, provide the user with a detailed explanation of the system’s operation and maintenance tips for optimal performance.
6.2 Performance Verification
After the initial start-up, verify the system’s performance by checking temperature settings, airflow, and humidity levels. Ensure the system meets the specified cooling and heating capacities. Use a subcooling checker for accurate measurements, as specified in the manual. Verify that the drain system is functioning correctly to prevent water leakage. Test the remote controller’s range and signal strength. Ensure all safety features, such as automatic shut-off, are operational. Document the results and address any discrepancies to guarantee optimal system performance and user satisfaction.
Troubleshooting Common Issues
- Identify symptoms like water leakage or refrigerant leaks.
- Check for electrical faults or improper drainage;
- Ensure proper installation and system calibration.
- Refer to the manual for specific error codes and solutions.
7.1 Diagnosing Installation Errors
Diagnosing installation errors requires careful inspection of the system. Common issues include refrigerant leaks, improper drainage, and electrical faults. Check for error codes on the display and verify connections. Ensure all components, like the drain socket and humidifying hose, are correctly installed. Review the installation manual for specific troubleshooting guides. Conduct a trial operation to identify malfunctions. Addressing these issues promptly prevents further damage and ensures system efficiency. Always follow the manufacturer’s instructions for accurate diagnostics.
7.2 Resolving Post-Installation Problems
Post-installation issues, such as water leakage or refrigerant leaks, require immediate attention. Check connections and ensure proper drainage. Verify electrical connections and settings. Refer to the manual for troubleshooting specific error codes. If issues persist, contact Daikin technical support. Regular inspections can prevent recurring problems. Always follow safety guidelines when resolving issues. Ensure compliance with manufacturer recommendations for optimal system performance and longevity. Professional servicing may be necessary for complex faults. Addressing problems promptly ensures efficient operation and avoids further damage to the system.
Documentation and Resources
Access comprehensive resources, including product literature, manuals, and installation guides, to support your Daikin system. Download PDF manuals and subscribe to newsletters for updates and discounts.
8.1 Referencing the Manual
Referencing the Daikin installation manual is essential for a successful setup. This document provides detailed instructions, safety guidelines, and technical specifications for various models, including R32 and R410A systems. Ensure compatibility by checking the model-specific instructions and required tools. The manual also outlines potential risks of improper installation, such as water leakage or electric shock. Always follow the provided safety precautions and installation steps carefully. For additional support, Daikin offers online resources, including product literature and training materials, to complement the manual. This ensures a reliable and efficient installation process. Use official Daikin documentation for accuracy;
8.2 Additional Technical Support
Daikin offers extensive technical support resources to assist with installation and maintenance. Access product literature, installation guides, and service manuals online. Subscribe to Daikin’s email newsletter for exclusive discounts and updates. Additional support includes training programs and educational materials for installers. Troubleshooting guides and technical bulletins are available to address common issues; For complex problems, Daikin’s customer service team provides direct assistance. Utilize these resources to ensure optimal system performance and compliance with installation standards. Stay informed with the latest technical updates and best practices from Daikin.
Maintenance and Aftercare
Regular maintenance ensures optimal performance and longevity of your Daikin system. Clean air filters, inspect for leaks, and check power connections. Schedule professional servicing annually.
9.1 Routine Maintenance Tasks
Regular maintenance is essential to ensure the efficiency and longevity of your Daikin system. Clean or replace air filters every 2-3 months to maintain airflow and indoor air quality. Inspect the drain hose for blockages and ensure proper drainage to prevent water leakage. Check power connections and refrigerant lines for damage or leaks. Clean the outdoor unit coils to avoid dust buildup and reduced performance. Schedule professional servicing every 6-12 months to inspect internal components and ensure optimal operation; Proper maintenance prevents breakdowns and maintains energy efficiency.
9.2 Scheduling Professional Servicing
Regular professional servicing is crucial for maintaining your Daikin system’s performance and longevity. Schedule a licensed technician to inspect and service your system every 6-12 months. During servicing, technicians will check refrigerant levels, inspect internal components, and clean coils to ensure optimal operation. They will also identify and repair potential issues before they lead to breakdowns. Professional servicing ensures energy efficiency, prevents unexpected failures, and extends the system’s lifespan. Always use Daikin-authorized service providers for genuine parts and expert care.
Thank you for using the Daikin Installation Manual. This guide has provided comprehensive instructions to ensure your system is installed, maintained, and serviced correctly. By following the outlined procedures, you can enjoy optimal performance, energy efficiency, and reliability. Proper installation and regular maintenance are key to extending the lifespan of your Daikin system. For any further assistance, refer to the resources provided or contact Daikin’s professional support team. Remember, adhering to the manual’s instructions ensures safety, efficiency, and continued customer satisfaction. Happy installing!